There are step by step directions below the video.
To add a choice item:
- After logging in to VSTAR home, click the Learn tab to display courses.
- Select the course you wish to add your choice activity.
- With the editing turned on, in the section you wish to add your choice, click the Add an activity or resource link and choose Choice (
 ) from the popup menu.
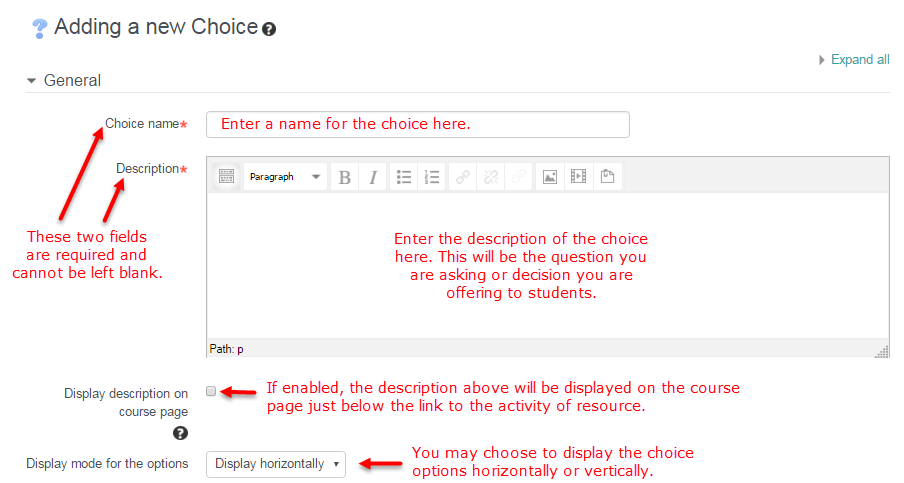
 - This will take you to the Choice settings page titled “Adding a new Choice”.
In an existing Choice, the following settings can be found in Settings > Choice administration > Edit settings.
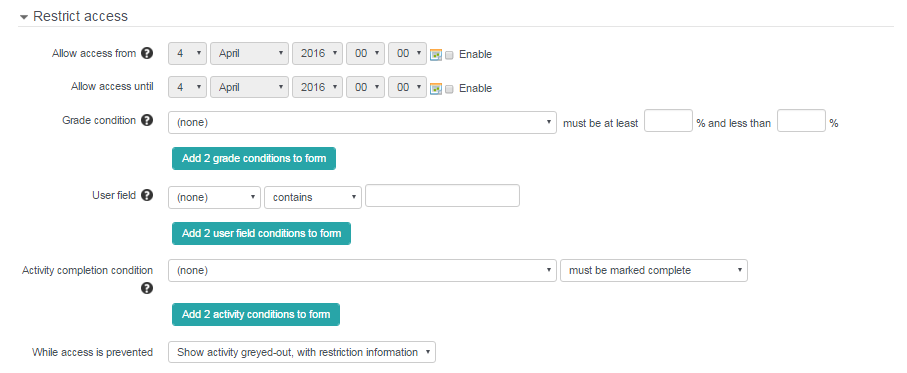
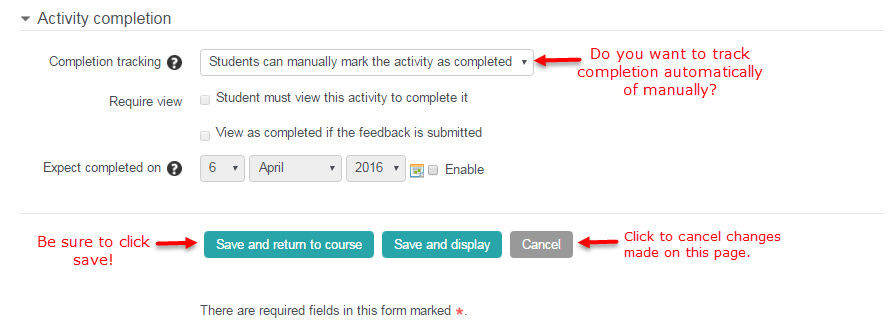
On the “Adding a new Choice” page, you will be presented with many options and settings for your new choice. They will fall into seven groups: General, Options, Availability, Results, Common module settings, Restrict access, and Activity Completion. Lets discuss each section and its particular options.
General
Options
By default you will be given Options 1-5. You can fill in any number of options. If you need more options, click the “Add 3 fields to form” button. Unused options, if left blank, will not be displayed.
Availability
Results
- Do not publish results to students.
- Show results to students after they answer.
- Show results to students only after the choice is closed.
- Always show results to students.
Common module settings
There are three options for Group mode:
- No groups – There are no sub groups, everyone is part of one big community
- Separate groups – Each group member can only see their own group, others are invisible
- Visible groups – Each group member works in their own group, but can also see other groups
The group mode defined at course level is the default mode for all activities within the course.


