Some courses use small groups that have different assignments or utilize small group discussions.
Groups are also a useful resource for review after exams, allowing students to check in and check out of a monitored secure session, so students can review their scores and exam feedback and don’t need to take exam questions and answers home.
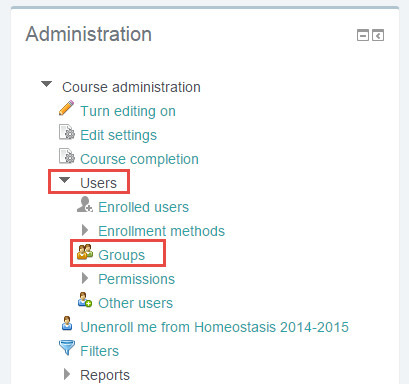
Navigate to Groups
In the course where you would like to create a group, click on the “Administration” block on the right hand side of the page. Then click on “Users” and “Groups.”
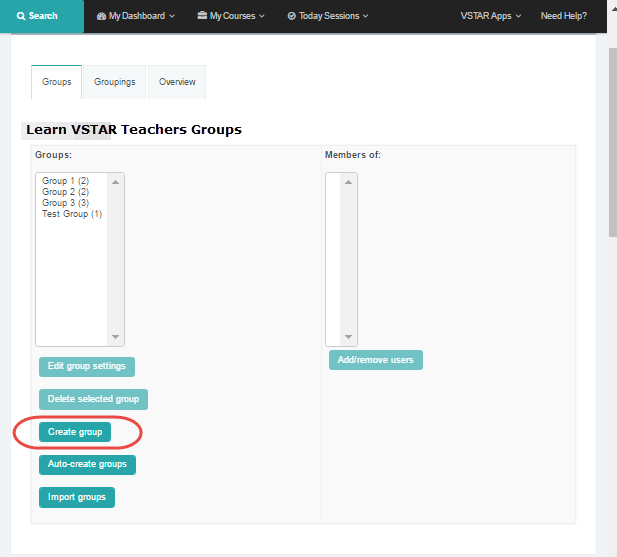
Add a Group
If any groups already exist in your course, you will see them here. This course has no existing groups. To create a new group, scroll down and select “Create group.”
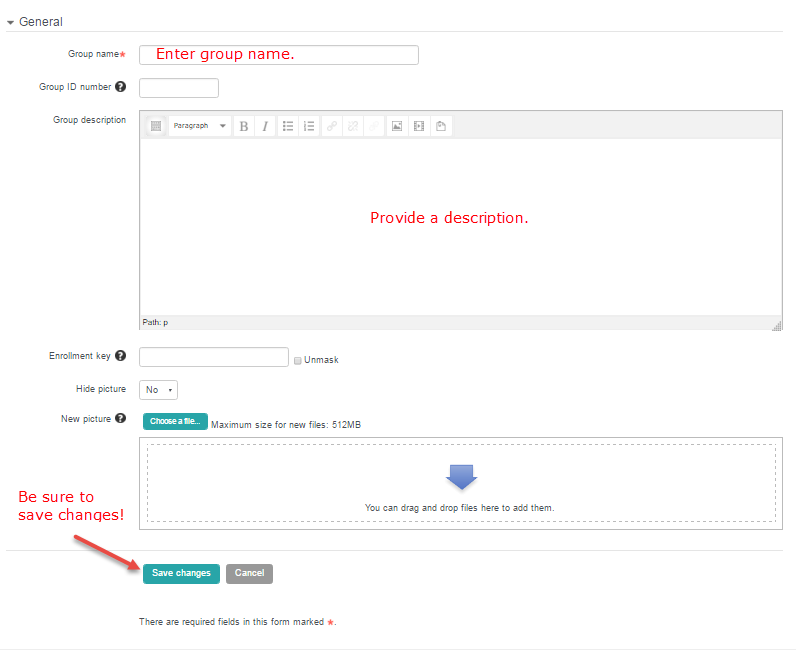
The next page will walk you through creating a group. Provide a name and description. If you choose, you can also provide a group picture. Be sure to save your changes to save your group.
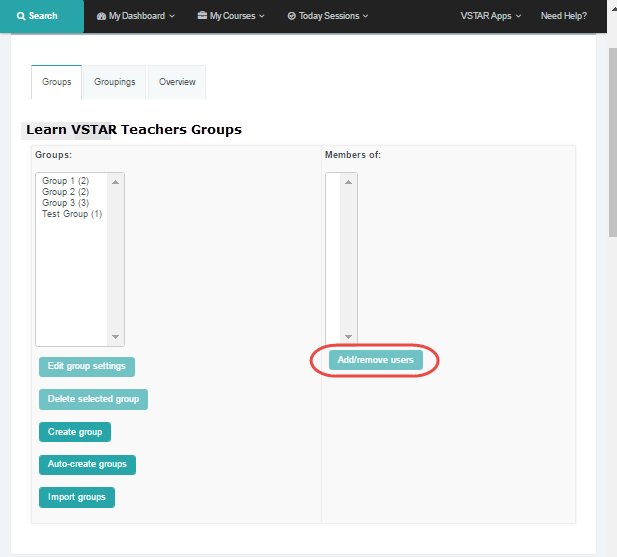
Add Users to a Group
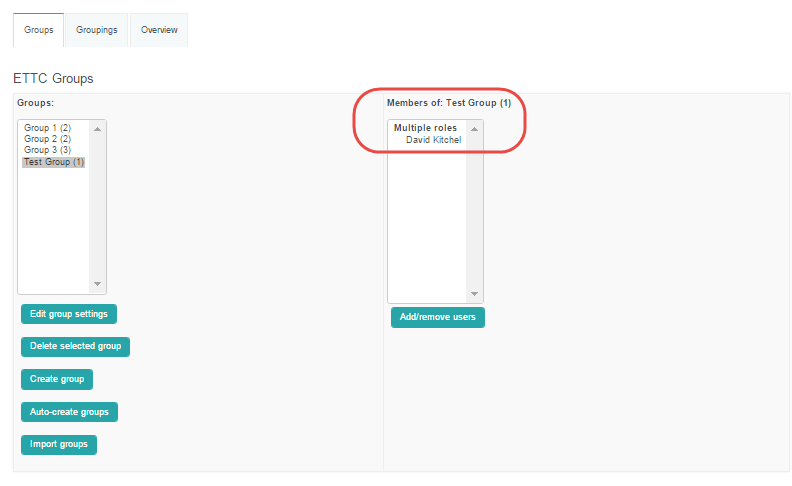
Once you save the group, the next screen will show the group on the left hand side and any members of the group on the right hand side of the screen. A new group will not have any members. To add members to a newly created group, select “Add/remove users.”
Add users to your group by selecting them in the “Potential members” and then selecting the “Add” button. The new users will then appear in the “Group members” column. Members can be removed by selecting them in the “Group members” column and selecting the “Remove” button. When the group members have been added, select the “Back to groups” button at the bottom of the screen. This will return you to the main group page.
Review Completed Groups
Groups can be reviewed on the main group page.